Introduction
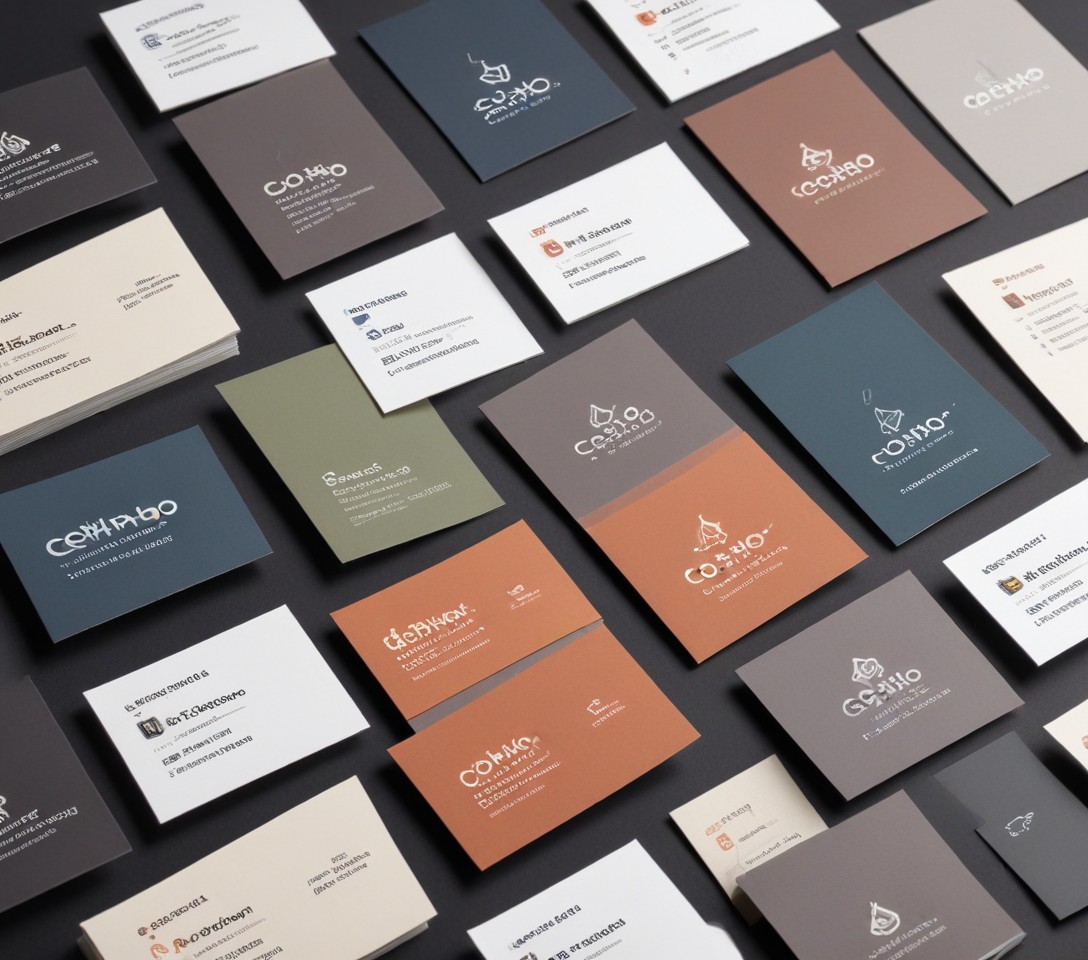
Business cards are essential in professional settings, serving as a tangible representation of your personal brand and a means of sharing contact information. While Word offers pre-designed templates for business cards, creating custom cards from scratch allows you to tailor the design to your specific needs and branding. In this tutorial, we’ll explore how to create professional-looking business cards in Microsoft Word without using a template.
Setting Up the Document
Adjusting Page Size and Orientation
The first step in creating business cards in Word is to set the appropriate page size and orientation. Standard business card dimensions are typically 3.5 inches by 2 inches, but you can adjust these measurements based on your preferences.
- Open a new document in Microsoft Word.
- Go to the “Layout” tab and click on the “Size” button.
- In the “Page Setup” dialog box, select the desired paper size from the “Paper” drop-down menu, or click “Custom Size” to enter your preferred dimensions.
- Under “Orientation,” select “Landscape” for a horizontal layout.
- Click “OK” to apply the changes.
Creating a Grid Layout
To create multiple business cards on a single page, you’ll need to set up a grid layout using Word’s table tools.
- Place your cursor at the beginning of the document.
- Go to the “Insert” tab and click on “Table.”
- In the “Insert Table” dialog box, specify the number of rows and columns you want based on how many cards you plan to create per page.
- Adjust the row height and column width to match your desired card dimensions.
- Right-click on the table and select “Table Properties.”
- In the “Table Properties” dialog box, go to the “Row” tab and set the desired row height.
- Go to the “Column” tab and set the desired column width.
- Click “OK” to apply the changes.
Designing the Business Card
Adding Personal and Company Information
With the document set up, it’s time to start designing your business card. Begin by adding your personal and company information, such as your name, job title, company name, contact details (phone number, email, website), and physical address.
- Click inside the first cell of the table to position the cursor.
- Type your name and use formatting tools (font, size, bold, italics) to make it stand out.
- On the next line, add your job title and company name.
- Below that, include your contact information, separating each element with a line break or a bullet point.
- If you have a company logo or branding elements, insert them using the “Insert” tab and “Pictures” option.
Choosing Fonts and Colors
The right font choices and color scheme can significantly impact the overall look and feel of your business card. Select fonts and colors that align with your personal or company branding and ensure legibility.
- Highlight the text you want to format and use the “Home” tab to select a font style and size.
- Choose a font that is easy to read and matches your desired tone (e.g., serif fonts like Times New Roman for a traditional look, or sans-serif fonts like Arial for a modern vibe).
- For color, consider your company’s branding colors or choose a complementary color scheme.
- Use the “Font Color” and “Highlight Color” options in the “Home” tab to apply colors to your text and background.
Adding Visual Elements
To make your business card stand out, consider incorporating visual elements such as shapes, lines, or icons. Word’s drawing tools allow you to create custom designs or insert pre-existing graphics.
- Go to the “Insert” tab and click on “Shapes” to access a variety of shape options.
- Select a shape and draw it directly on your business card design.
- Right-click on the shape and choose “Format Shape” to customize its fill color, outline, and other properties.
- To insert an icon or graphic, go to the “Insert” tab and click “Pictures” to browse and insert an image file.
Formatting and Layout Techniques
Text Alignment and Spacing
Proper text alignment and spacing can significantly enhance the readability and visual appeal of your business card design.
- Use the alignment buttons in the “Home” tab (“Align Left,” “Center,” or “Align Right”) to position your text as desired.
- Adjust line spacing by selecting the text and using the “Line Spacing” options in the “Paragraph” group.
- For precise positioning, use the “Tabs” feature in the “Paragraph” group to set custom tab stops.
- Experiment with indents by clicking the “Increase Indent” or “Decrease Indent” buttons in the “Paragraph” group.
Creating Borders and Background Styles
Adding borders or background styles can help separate individual business cards and add visual interest to your design.
- To add a border, select the cell(s) containing your business card design.
- Go to the “Design” tab (under “Table Tools”) and click on the “Borders” dropdown to choose a border style.
- For a background color or fill, select the cell(s) and use the “Shading” or “Pattern” options in the “Design” tab.
- Alternatively, explore gradient or texture fills by right-clicking on the cell, selecting “Format Shape,” and adjusting the fill options.
Printing and Cutting the Business Cards
Preparing for Printing
Before printing your business cards, it’s essential to ensure that your printer settings are optimized for the best results.
- Go to the “File” tab and click “Print.”
- In the “Print” dialog box, select your printer and adjust settings like paper size, orientation, and print quality.
- It’s recommended to use a high-quality printer or consider professional printing services for the best output.
- Use the “Print Preview” feature to check the final layout and make any necessary adjustments before printing.
Cutting and Separating the Cards
Once printed, you’ll need to cut and separate the individual business cards. Depending on the paper you use, there are a few techniques you can employ:
- Standard paper: Use a sharp paper trimmer or scissors to carefully cut along the grid lines, separating each card.
- Perforated paper: If using perforated business card paper, simply tear along the perforated lines to separate the cards cleanly.
- Scoring tools: For a professional finish, consider using a scoring tool or bone folder to create clean, precise folds before cutting.
Additional Tips and Considerations
- Save your design as a template: After creating your business card design, save it as a Word template (*.dotx file) for future use or updates.
- Ensure consistency: If printing multiple batches of business cards, ensure consistent formatting and settings for a cohesive look across all cards.
- Explore alternative printing options: Consider using online printing services or professional print shops for high-quality results and unique paper options.
Conclusion
Creating custom business cards in Microsoft Word without a template allows you to design a unique and personalized representation of your brand. By following the steps outlined in this tutorial, you can set up the document layout, design your card elements, apply formatting and layout techniques, and prepare your cards for printing and cutting. Don’t be afraid to experiment with different fonts, colors, and visual elements to create a business card that truly stands out and leaves a lasting impression.


