Introduction:
- Explain what place cards are and their importance in setting the tone for formal events or gatherings
- Highlight the convenience and cost-effectiveness of creating place cards using Microsoft Word
- Mention the ability to customize and personalize place cards to match the event’s theme or style
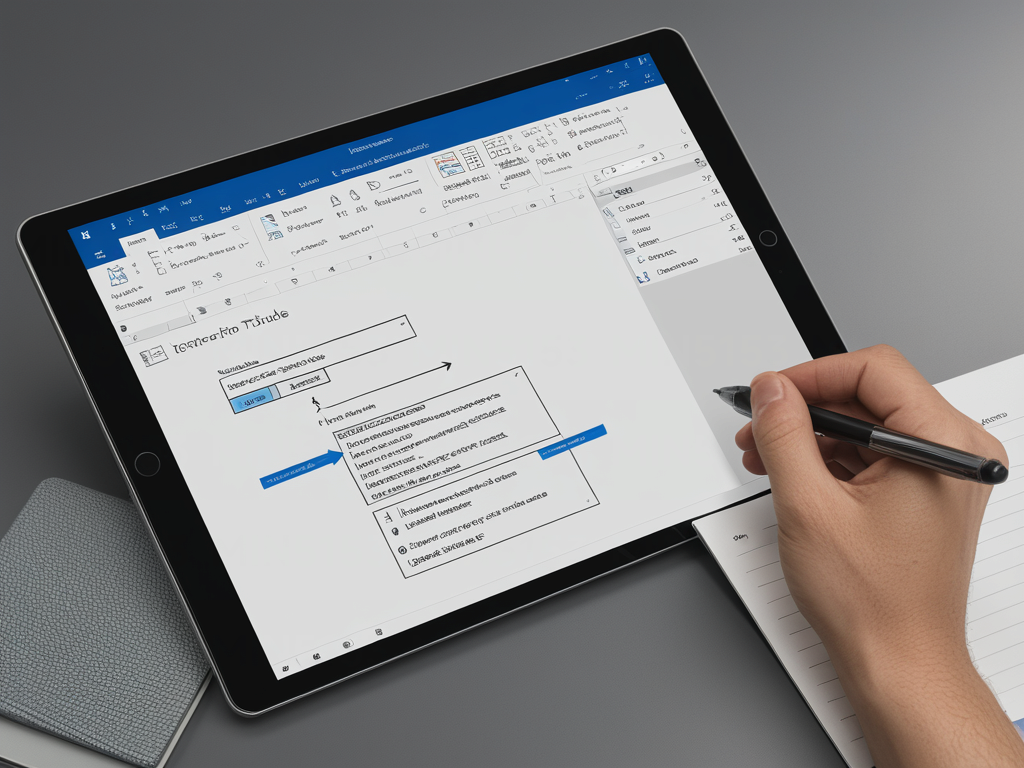
Place cards are a simple yet elegant way to add a touch of sophistication to any formal event or gathering. Whether it’s a wedding reception, a corporate dinner, or a holiday party, place cards help guide guests to their assigned seats while also setting the tone for the occasion. Creating beautiful place cards can seem like a daunting task, but with Microsoft Word, you can design and print them with ease, customizing them to match the theme and style of your event.
In this tutorial, we’ll explore how to make place cards using Microsoft Word, a versatile and widely available tool that offers a range of design options and customization features. Not only is it convenient to use a program you likely already have installed, but creating place cards in Word also allows you to save money compared to purchasing pre-made cards or hiring a professional designer.
Opening a new document in Microsoft Word
- Adjusting page setup (orientation, margins, paper size)
- Creating a template or using pre-designed templates for consistency
- Adding a background color, pattern, or image (optional)
Before you dive into the design process, it’s important to set up your Word document correctly. Here are the steps:
- Open a new document in Microsoft Word.
- Go to the “Layout” tab and select the appropriate page setup options, such as orientation (landscape or portrait), margins, and paper size (e.g., A4, letter).
- If you want to create a consistent look for all your place cards, consider using a template or creating your own. Word offers a variety of pre-designed templates that you can customize, or you can start from scratch with a blank document.
- Optional: Add a background color, pattern, or image to your document by going to the “Design” tab and selecting the desired option from the “Page Color” or “Page Borders” sections.
Designing Your Place Card Layout
- Inserting and formatting a table (number of rows and columns)
- Adjusting cell dimensions and spacing
- Adding borders and shading to cells
- Inserting text boxes or shapes for names and additional information
Now that your document is set up, it’s time to start designing the layout for your place cards:
- Insert a table by going to the “Insert” tab and selecting “Table.” Determine the number of rows and columns based on the information you want to include on each place card (e.g., one row for the name, another for a menu option or guest’s title).
- Adjust the cell dimensions and spacing by right-clicking on the table and selecting “Table Properties.” Here, you can specify the desired cell size and spacing between cells.
- Add borders and shading to the cells to create a visually appealing design. Go to the “Design” tab under “Table Tools” and explore the various border and shading options.
- If you prefer not to use a table, you can also insert text boxes or shapes to create your place card layout. These can be easily resized and positioned as needed.
Adding Text and Graphics
- Typing or importing guest names
- Choosing appropriate fonts, styles, and sizes for names and event details
- Inserting graphics or symbols (e.g., monograms, icons, dividers)
- Aligning and distributing text and graphics within the card layout
Once you have your layout in place, it’s time to add the text and any graphics or design elements:
- Type or import the guest names into the appropriate cells or text boxes. Ensure that the font, style, and size are consistent and legible.
- Choose appropriate fonts, styles, and sizes for any additional event details you want to include, such as menu options, guest titles, or table numbers.
- Enhance the visual appeal of your place cards by inserting graphics or symbols like monograms, icons, or dividers. You can find these in Word’s built-in shapes or by inserting images from your computer or online sources.
- Align and distribute the text and graphics within the card layout for a balanced and visually appealing design.
Advanced Formatting and Customization
- Using Word Art or WordArt for stylized names or headings
- Incorporating event-specific graphics or logos
- Adding special touches like borders, shapes, or flourishes
- Creating a cohesive design by matching colors, fonts, and styles
If you want to take your place cards to the next level, consider these advanced formatting and customization options:
- Use Word Art or WordArt to create stylized versions of guest names or headings, adding a unique and eye-catching touch.
- Incorporate event-specific graphics or logos to tie the place cards into the overall theme or branding.
- Add special touches like borders, shapes, or flourishes to frame the text or graphics and create a cohesive, polished look.
- Match colors, fonts, and styles across all design elements to create a cohesive and visually appealing design.
Printing and Finishing Touches
- Adjusting print settings (orientation, scaling, margins)
- Selecting appropriate card stock or paper for printing
- Cutting or trimming the printed place cards (if needed)
- Adding embellishments like ribbons, bows, or decorative elements (optional)
Once you’ve completed the design process, it’s time to print your place cards and add any finishing touches:
- Adjust your print settings, such as orientation, scaling, and margins, to ensure that your place cards print correctly.
- Select appropriate card stock or paper for printing. Heavier weight paper or textured card stock can add a luxurious feel to your place cards.
- If necessary, cut or trim the printed place cards to the desired size or shape using a paper cutter or scissors.
- Optional: Add embellishments like ribbons, bows, or decorative elements to further enhance the visual appeal of your place cards.
Tips and Tricks
- Using mail merge for creating multiple place cards with different names
- Saving custom templates for future use or sharing
- Exploring online resources for place card design inspiration
- Troubleshooting common issues (e.g., text overlapping, alignment problems)
To make the process of creating place cards in Word even smoother, consider these tips and tricks:
- If you need to create multiple place cards with different names, use Word’s mail merge feature to efficiently populate the guest names across multiple cards.
- Save your custom place card designs as templates for future use or to share with others who may need to create similar cards.
- Explore online resources and Pinterest boards for place card design inspiration and ideas. You can find countless examples of beautiful and creative place cards to spark your creativity.
- Troubleshoot common issues, such as text overlapping or alignment problems, by adjusting cell properties, using tabs or indents, or resizing text boxes or shapes.
Conclusion:
- Recap the benefits of creating place cards in Microsoft Word
- Encourage readers to experiment with different designs and customizations
- Invite readers to share their place card creations and experiences in the comments section
Creating elegant place cards in Microsoft Word is a simple and cost-effective way to add a personal touch to your event. With the wide range of design options and customization features available in Word, you can craft place cards that perfectly complement the theme and style of your gathering.
Don’t be afraid to experiment with different layouts, fonts, graphics, and design elements until you achieve the look you desire. And remember, the key to truly stunning place cards is attention to detail and a touch of creativity.
We’d love to see your place card creations! Share your designs and experiences in the comments section below, and inspire others with your elegant and personalized place card ideas.


