Introduction: An interactive PowerPoint presentation is a powerful tool that allows you to engage your audience and enhance information retention. By incorporating interactive elements, you can transform a traditional slide deck into an immersive and dynamic experience. This tutorial will guide you through various techniques to make your PowerPoint presentations truly interactive.
Adding Hyperlinks
Linking to Different Slides
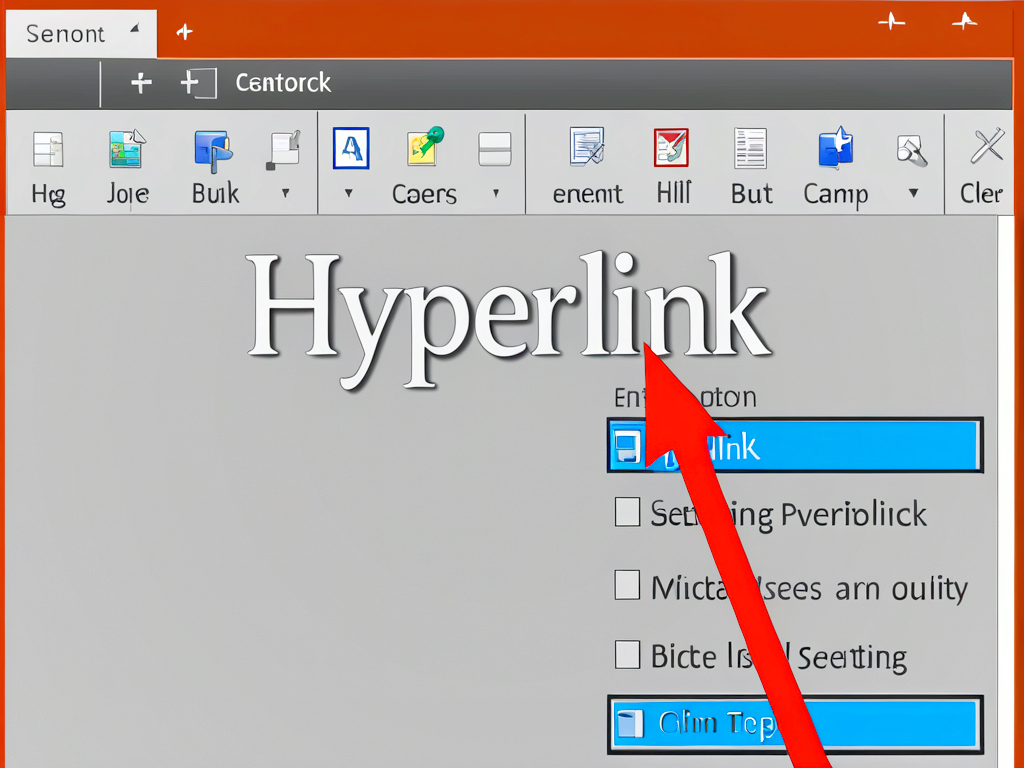
Hyperlinks are a simple yet effective way to add interactivity to your presentations. You can create links that allow you to jump between slides in a non-linear fashion or create a navigation menu for easy navigation. To add a hyperlink to another slide, select the text or object you want to link, right-click, and choose “Hyperlink.” Then, select the desired slide from the list or use the “Place in This Document” option.
Linking to External Resources
In addition to linking between slides, you can also link to external resources such as websites, documents, or videos. This can be especially useful when you want to provide additional information or resources to your audience. To create an external link, follow the same steps as above, but select the “Existing File or Web Page” option and enter the appropriate URL or file path.
Using Action Buttons
Built-in Action Buttons
PowerPoint offers a variety of built-in action buttons that can enhance interactivity. These buttons can be used to navigate through the presentation, play media files, or even run macros. To add an action button, go to the “Insert” tab, select “Shapes,” and choose the desired button shape from the “Action Buttons” section. Once inserted, you can customize the button’s behavior by right-clicking and selecting the appropriate action.
Customizing Action Buttons
While the built-in action buttons are functional, you may want to customize their appearance to better match your presentation’s theme or style. You can change the button’s shape, color, or even add icons or images. To customize an action button, select it, and use the formatting options available on the ribbon or the right-click menu.
Inserting Interactive Media
Adding Videos
Embedding videos into your PowerPoint presentation can make it more engaging and visually appealing. You can either embed the video directly into the slide or link to a video file. To embed a video, go to the “Insert” tab, select “Video,” and choose the desired option (video file or online video). Once inserted, you can set various playback options, such as autoplay or loop.
Inserting Audio
Audio can also enhance your presentation by providing narration or background music. To add audio, go to the “Insert” tab, select “Audio,” and choose the desired audio file. You can synchronize the audio with slide transitions or set it to play across multiple slides.
Interactive Images and Charts
PowerPoint allows you to make images and charts interactive. For example, you can enable zooming capabilities for images, allowing your audience to take a closer look at specific details. For charts, you can add interactive features such as filtering, tooltips, or even animated transitions between data series.
Using Animations and Transitions
Creating Animations
Animations can bring your slides to life and capture your audience’s attention. PowerPoint offers a variety of animation effects, including entrance, emphasis, and exit animations. You can animate text, shapes, or other objects by selecting them and accessing the “Animations” tab on the ribbon. Additionally, you can create more advanced animation paths and motion paths for a more dynamic presentation.
Setting Transition Effects
Slide transitions can help make your presentation flow smoothly from one slide to the next. PowerPoint provides various transition effects, such as wipes, fades, or pushes. To add a transition effect, navigate to the “Transitions” tab, and select the desired effect from the gallery. You can also set advanced options, such as advancing the slide automatically after a specified time or on a click.
Adding Interactivity with VBA and Macros
Introduction to VBA and Macros
Visual Basic for Applications (VBA) and macros allow you to take your PowerPoint interactivity to the next level. VBA is a programming language that enables you to automate tasks and create custom functionality within PowerPoint. Macros are reusable code snippets that can perform specific actions.
You can record simple macros by going to the “View” tab, selecting “Macros,” and choosing “Record Macro.” This will capture your actions as you perform them, allowing you to replay the recorded steps later.
Advanced Macros
While recorded macros are useful for simple tasks, writing VBA code allows you to create more advanced interactive elements. For example, you could create quizzes, simulations, or even games within your PowerPoint presentation. This requires familiarity with VBA programming, but there are many online resources and tutorials available to help you get started.
Best Practices and Tips
- Keep your presentation organized and easy to navigate, especially when incorporating interactive elements.
- Ensure accessibility by providing captions, alternative text descriptions, and other accommodations for users with disabilities.
- Test your interactive presentation thoroughly on different devices and platforms to ensure compatibility and optimal performance.
- Implement backup and version control procedures to safeguard your work and track changes.
Conclusion: Creating an interactive PowerPoint presentation can be a powerful way to engage your audience and convey information more effectively. By utilizing hyperlinks, action buttons, interactive media, animations, transitions, and even VBA and macros, you can transform a traditional slide deck into an immersive and captivating experience. Don’t be afraid to experiment and get creative with the techniques covered in this tutorial. With practice and exploration, you’ll be able to create truly engaging and memorable interactive presentations.


