
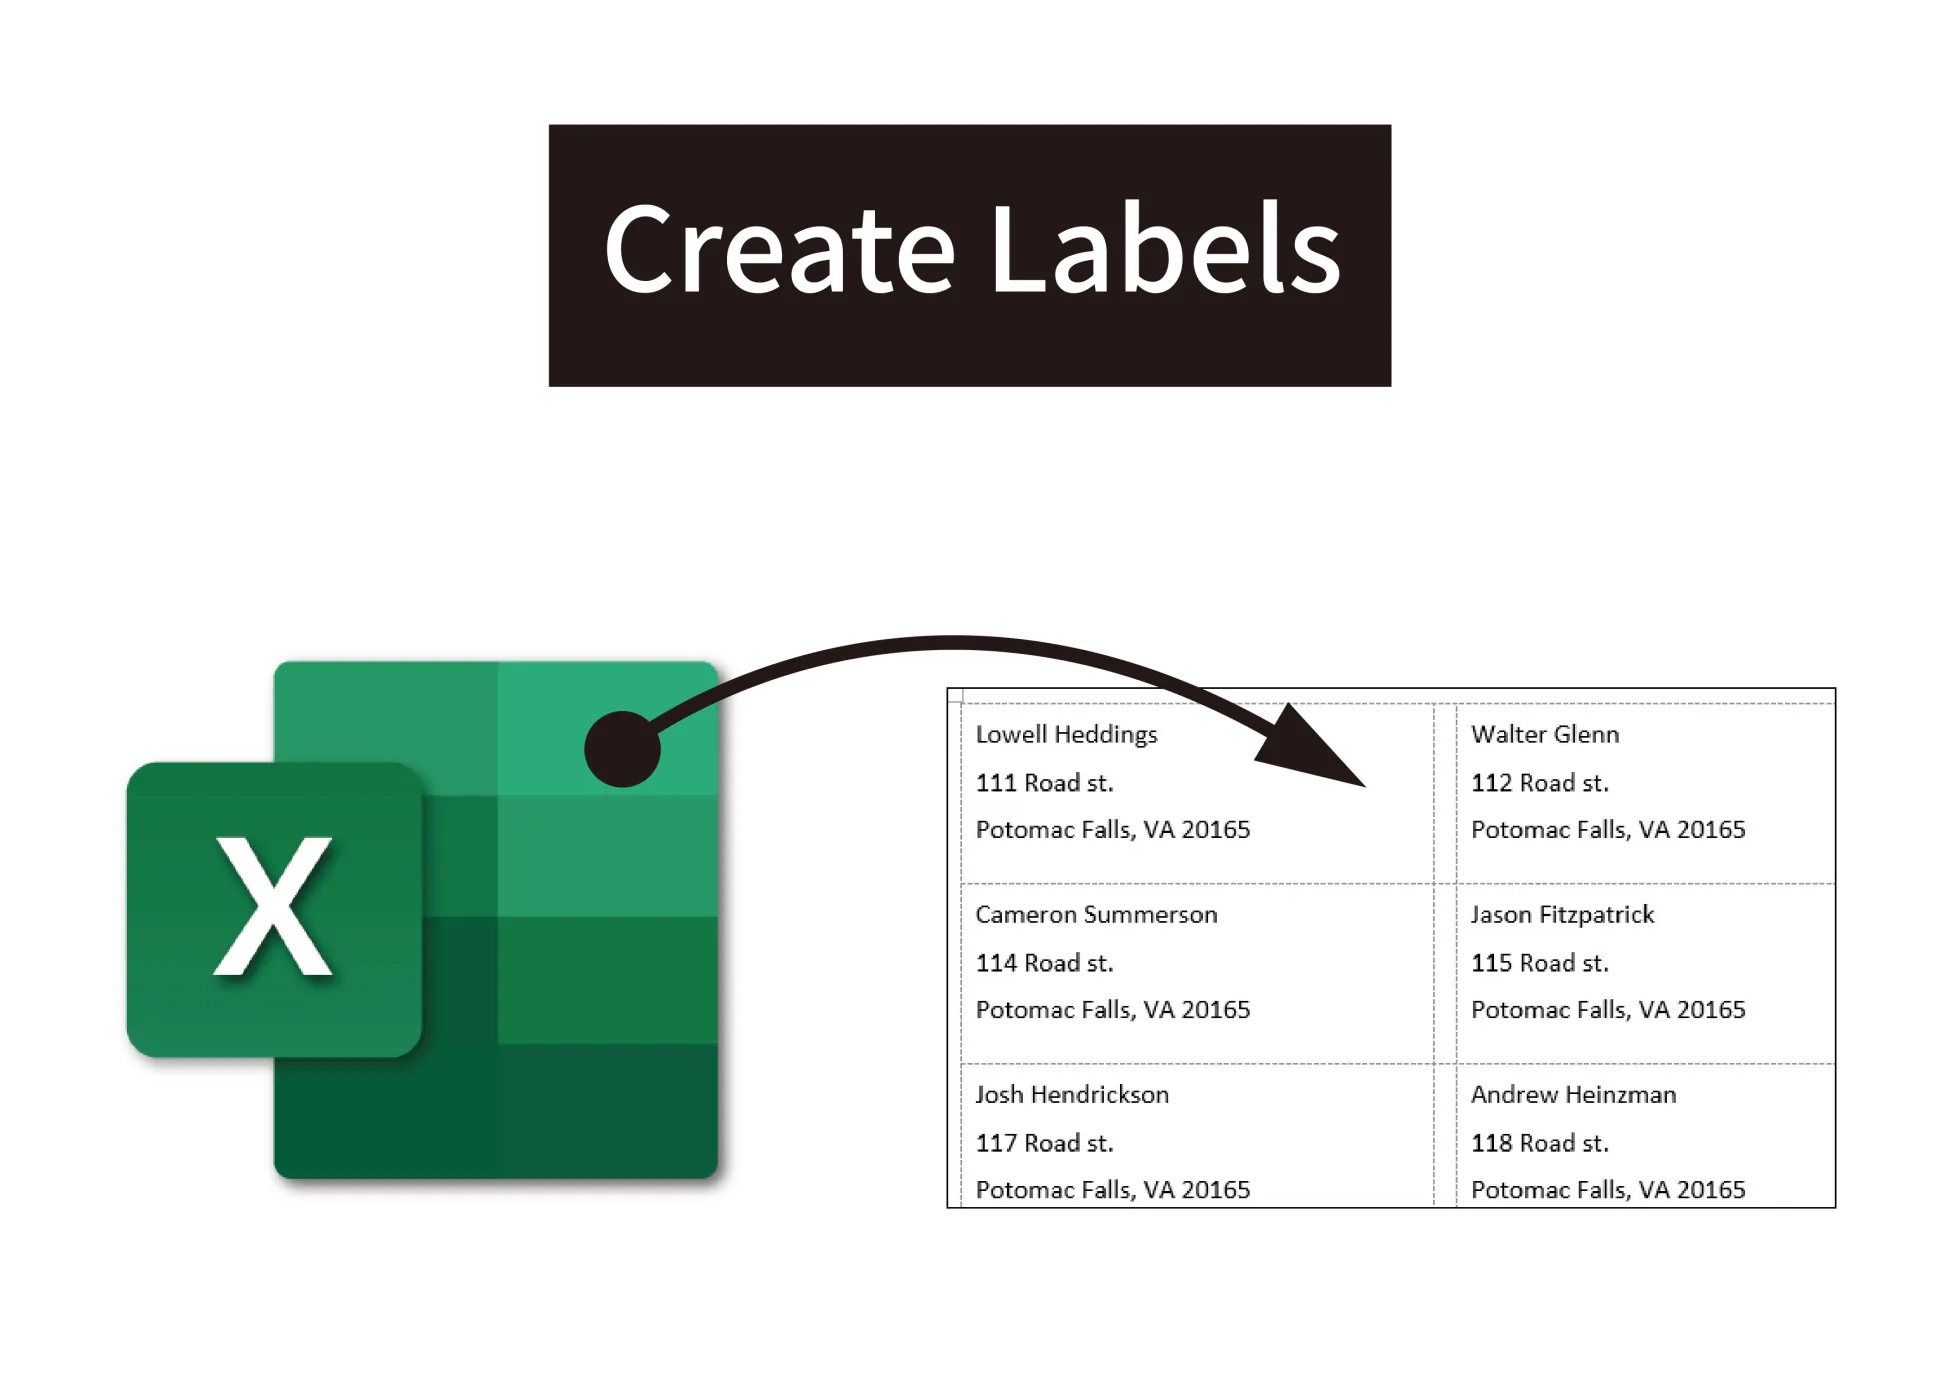
Introduction
Creating labels in Microsoft Word from an Excel list is a time-saving and efficient way to print labels for mailing, labeling products, or organizing items. In this step-by-step tutorial, we’ll show you how to seamlessly merge data from an Excel spreadsheet into Word to generate custom labels.
Step 1: Prepare Your Excel Spreadsheet
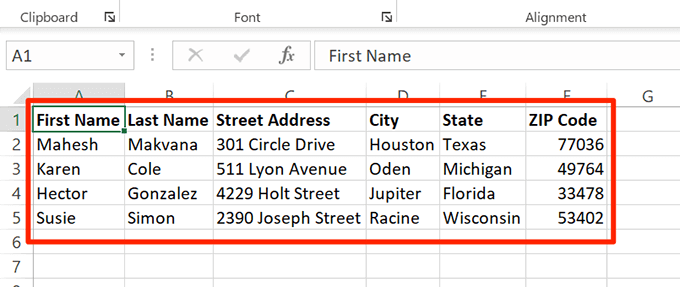
- Organize Your Data: In your Excel spreadsheet, arrange the data you want to use for your labels. Typically, the first row should contain column headers (e.g., “First Name,” “Last Name,” “Address,” etc.), and each subsequent row should represent an individual label with corresponding information.
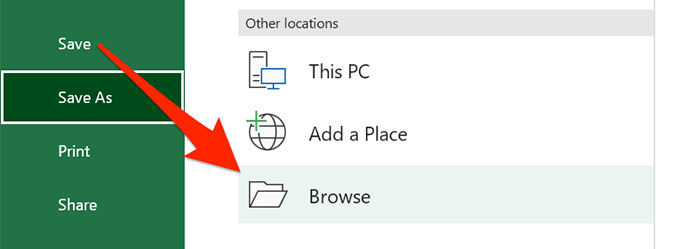
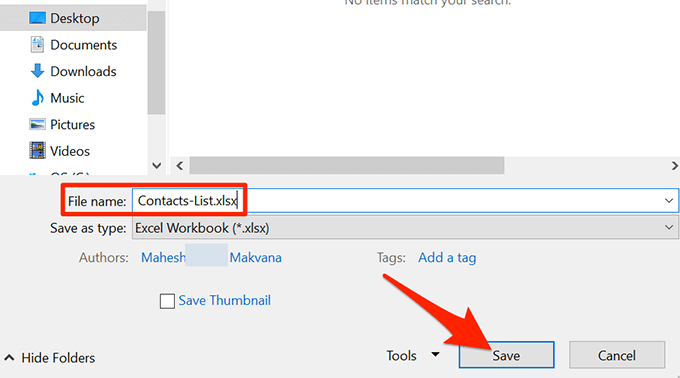
- Save Your Excel File: Save your Excel file with a descriptive name, so you can easily locate it when needed.
Step 2: Launch Microsoft Word
- Open Microsoft Word: Launch Microsoft Word on your computer.
- Start a New Document: Create a new document where your labels will be inserted.
Step 3: Access the Mailings Tab
- Navigate to the Mailings Tab: In Word, go to the “Mailings” tab on the ribbon.
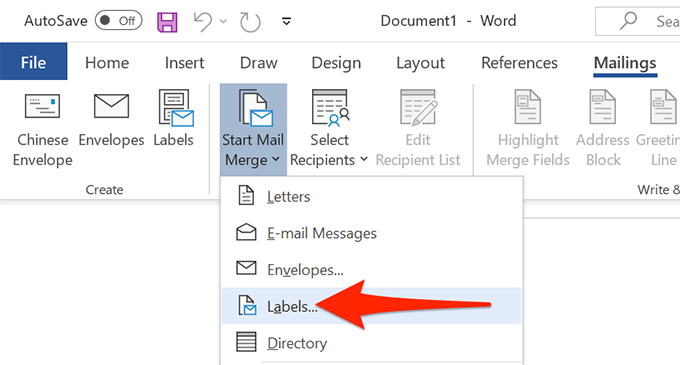
Step 4: Select Labels
- Click on “Labels”: In the “Mailings” tab, click on the “Labels” option. A “Labels” dialog box will appear.
Step 5: Configure Label Options
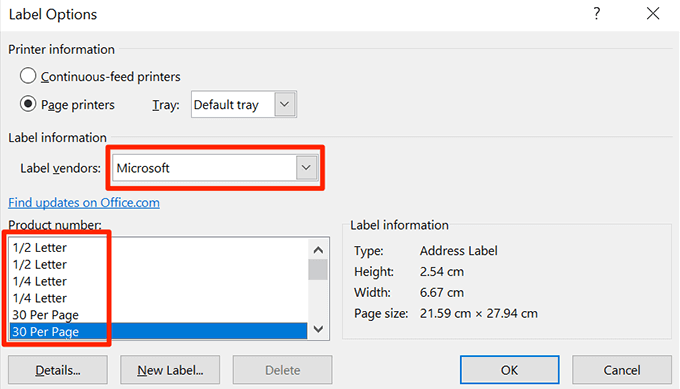
- Label Vendor and Product: In the “Labels” dialog box, you can select your label vendor and product number from the dropdown lists. If your label type is not listed, you can choose “Other” and enter the label dimensions manually.
- Enter Label Details: Ensure the “Full Page of the Same Label” option is selected.
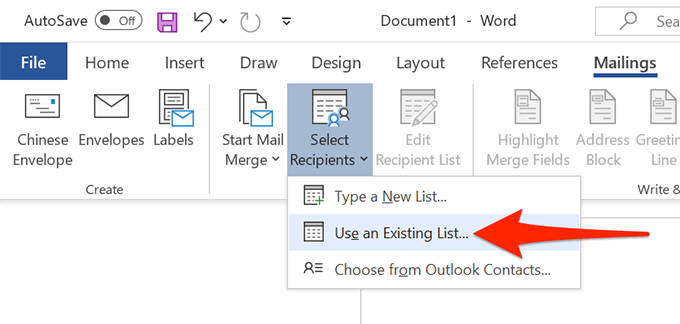
Step 6: Select Your Data Source
- Click on “Select Recipients”: In the “Mailings” tab, click on “Select Recipients” and choose “Use an Existing List.”
- Browse for Your Excel File: Locate and select your prepared Excel spreadsheet.
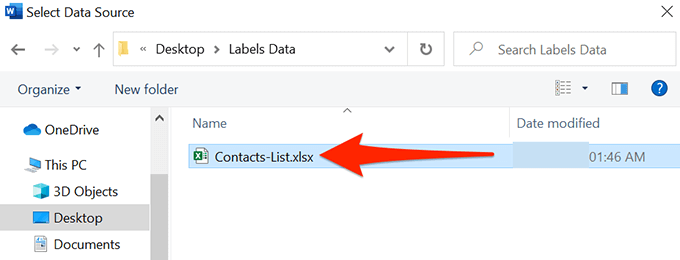
- Confirm Data Source: Verify that Word correctly recognized the sheet and range containing your data. Adjust if necessary.
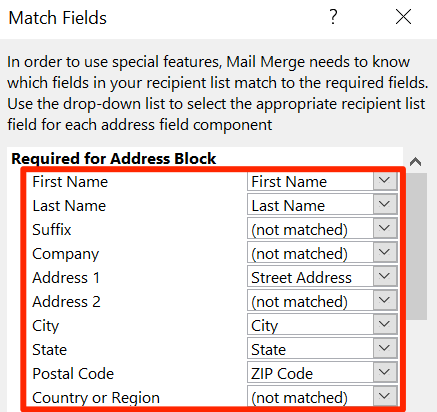
Step 7: Insert Merge Fields
- Click on “Insert Merge Field”: Place your cursor where you want to insert a merge field (e.g., “First Name,” “Last Name”).
- Select Merge Fields: In the “Mailings” tab, click “Insert Merge Field” and choose the fields you want to insert. Repeat this process for all the fields you want on your labels.
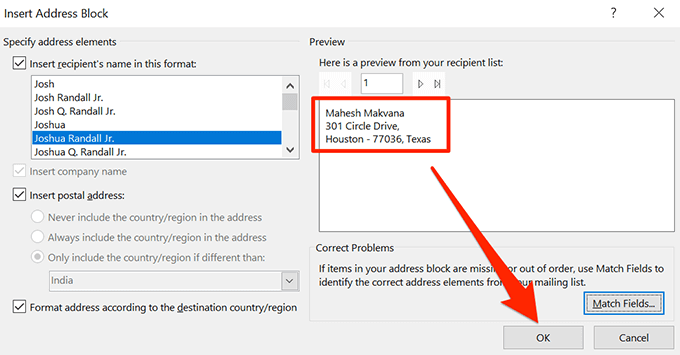
Step 8: Preview Labels
- Click on “Preview Results”: Use the “Preview Results” button in the “Mailings” tab to see how the labels will look with your data. Navigate through the records using the “Previous” and “Next” buttons.
Step 9: Complete the Merge
- Click on “Finish & Merge”: Once you’re satisfied with the preview, click “Finish & Merge” in the “Mailings” tab.
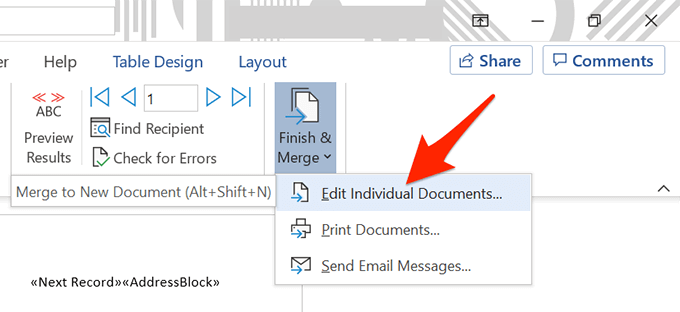
- Choose “Print Documents”: Select “Print Documents” from the dropdown menu. You can also choose to create a new document or send emails, depending on your needs.
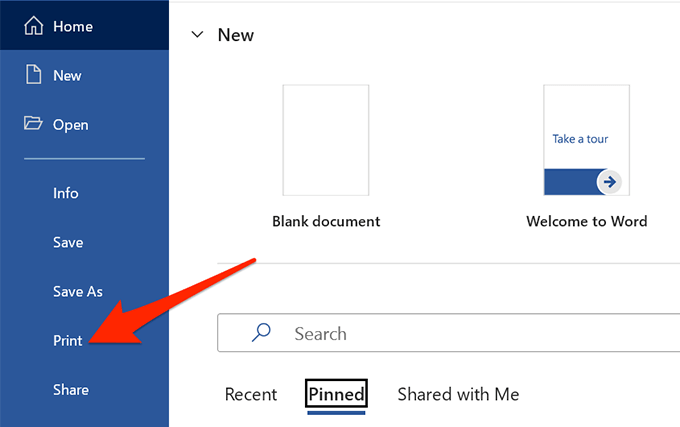
- Configure Printer Settings: Configure your printer settings, such as the number of copies and the page range if needed.

- Print Your Labels: Click “OK” to start printing your labels. Ensure you have label sheets loaded in your printer.
Conclusion
Creating labels in Word from an Excel list is a straightforward process that streamlines tasks like mailing, labeling, and organization. With this tutorial, you can efficiently generate customized labels for various purposes, saving time and ensuring accuracy in your labeling projects.


 No products in the cart.