
Creating a database in Excel may not make you a database guru, but it’s a practical way to manage and organize your data effectively. In this tutorial blog, I’ll take you through the process of building a database in Excel, complete with tips and tricks for optimal data management.
Step 1: Organizing Your Data
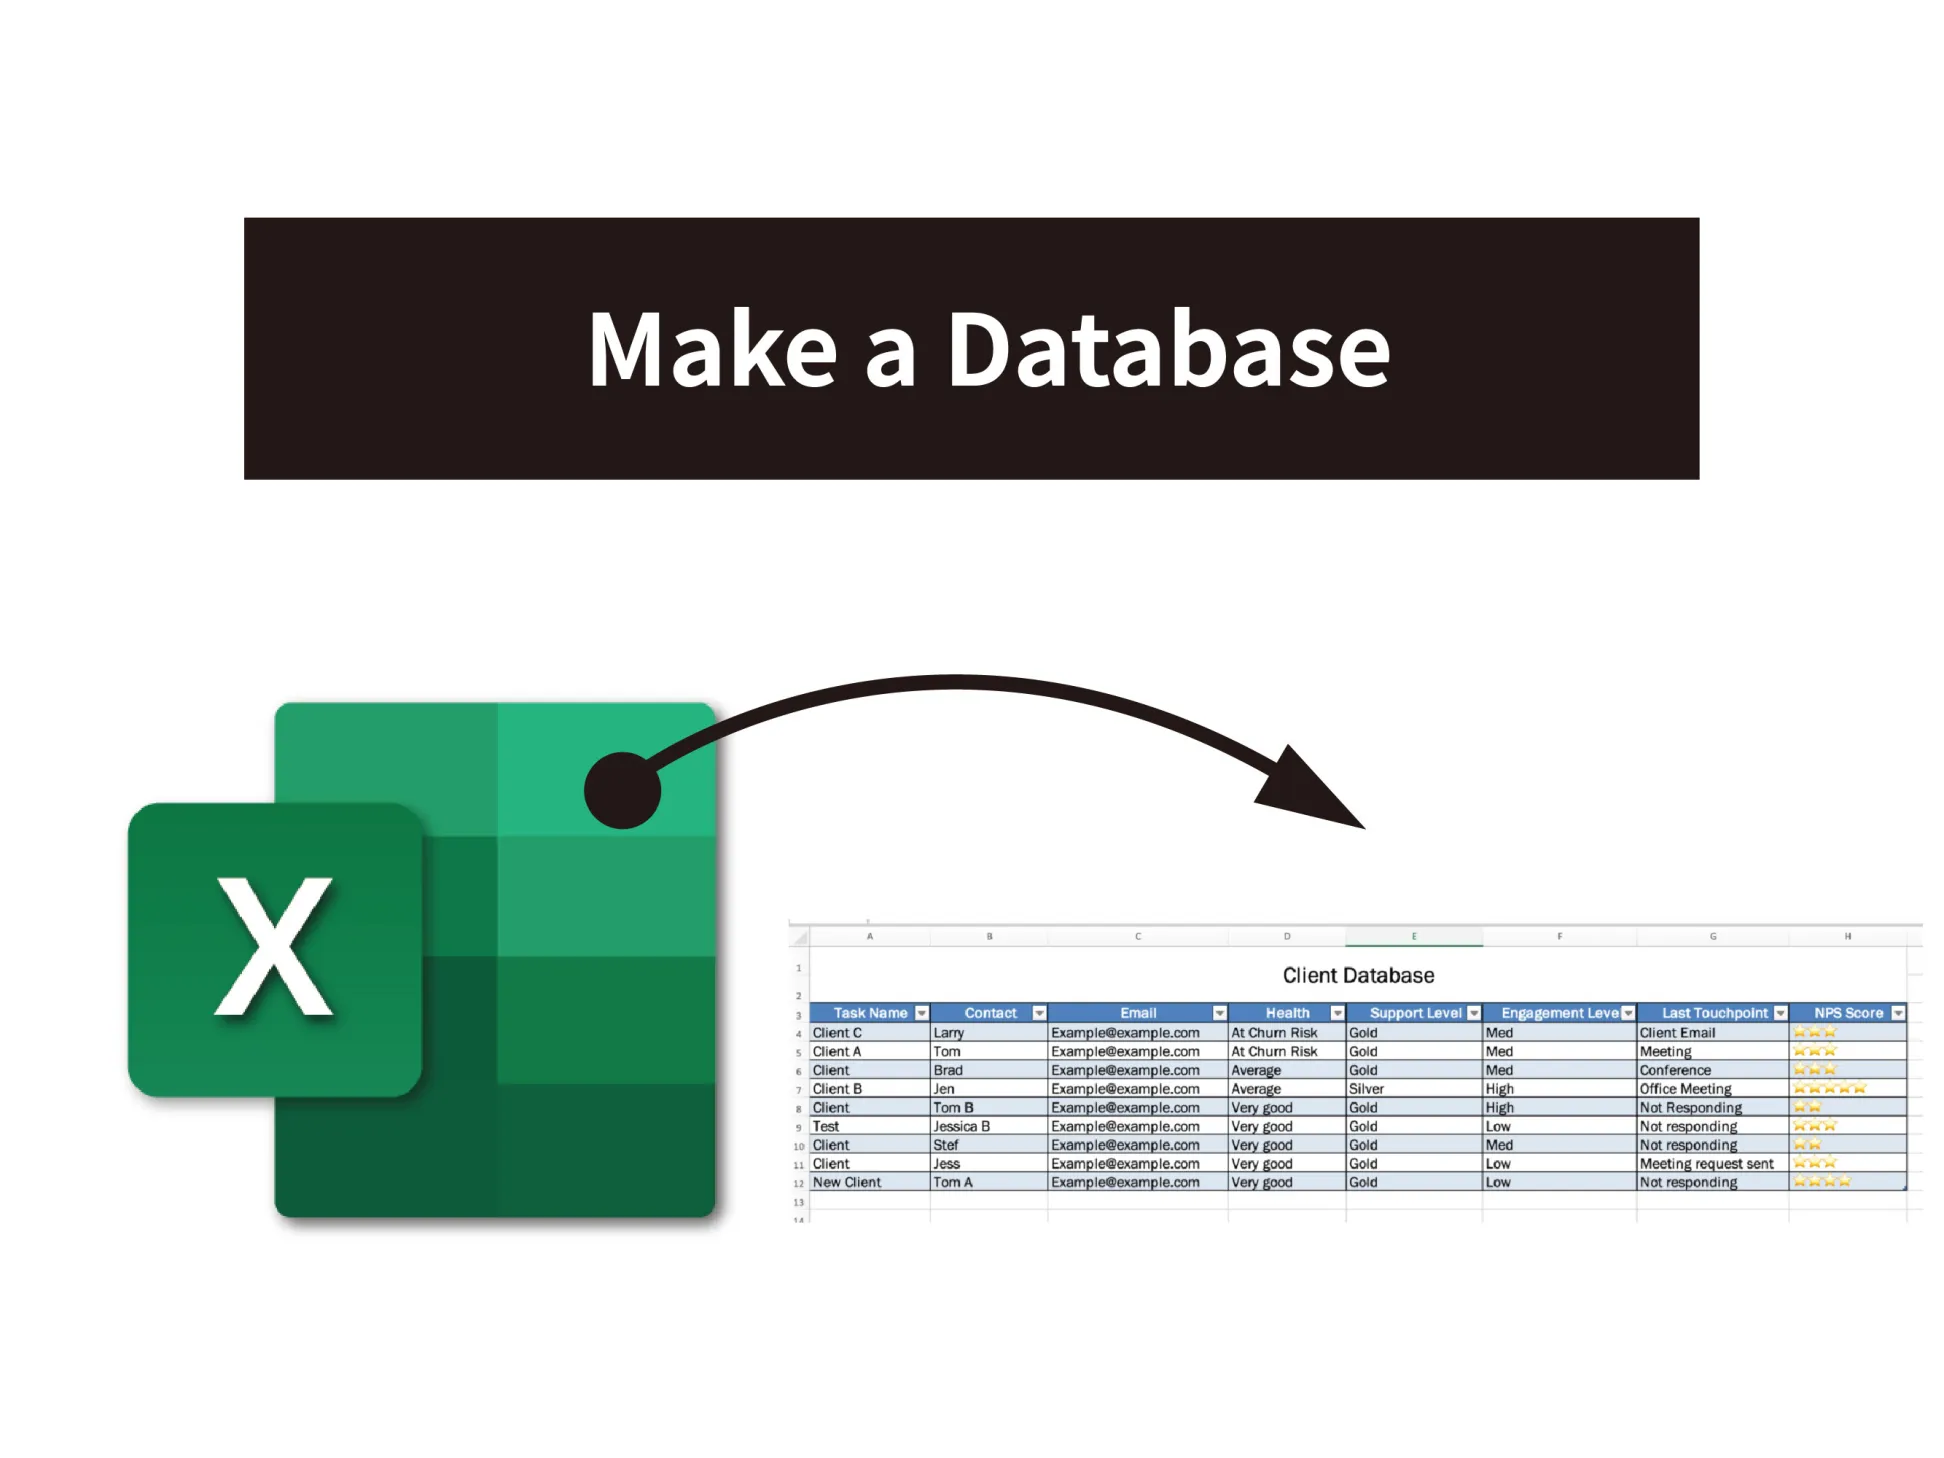
Before you start, make sure you have a clear understanding of what data you want to store. Think about the categories or fields you need to capture. For example, if you’re building a customer database, you might need fields like Name, Address, Email, and Phone Number.
Step 2: Open Excel and Create a New Workbook
- Launch Excel and open a new, blank workbook.
Step 3: Set Up Your Database Table
- In cell A1, enter the name of your database, e.g., “Customer Database.”
- In the rows below, create column headers for each field (e.g., A2: “Name,” B2: “Address,” C2: “Email,” D2: “Phone Number”). These headers will serve as the field names.

Step 4: Enter Data
- Starting from row 3, enter your data. Each row represents a separate record or entry, and each column contains data for a specific field.
- You can continue to add rows as you collect more data.
Step 5: Format Your Data Table
- To make your database more user-friendly, apply formatting. Select the entire table, and on the “Home” tab, choose a cell style or customize the font, background color, and borders.
- Consider turning on “AutoFilter” (Data > Sort & Filter > Filter) to enable quick data filtering and sorting.
Step 6: Add More Fields
- If your database evolves and requires additional fields, simply insert new columns. Right-click on a column letter and choose “Insert” to add a new field.
Step 7: Data Validation
- Implement data validation rules to maintain data integrity. For instance, use data validation to ensure that email addresses are in the correct format.
Step 8: Create Unique Identifiers (Optional)
- If your database needs unique identifiers for each record (e.g., customer ID numbers), you can create these using Excel’s formulas.
Step 9: Data Sorting and Filtering
- Excel’s sorting and filtering options are powerful tools for managing your database. You can sort records based on any field or filter data to view specific subsets.
Step 10: Data Queries (Advanced)
- For more advanced database functionality, consider using Excel’s “Get & Transform Data” (Power Query) feature, available in newer versions. This allows you to perform complex data queries and transformations.
Step 11: Back Up Your Database
- Regularly save and back up your Excel database to prevent data loss. Store backups in a secure location.
Step 12: Data Entry Forms (Advanced)
- If your database grows significantly, consider creating data entry forms to simplify data input.
Step 13: Data Analysis (PivotTables and Charts)
- Excel’s PivotTables and charts are great tools for analyzing data in your database. They allow you to summarize and visualize information easily.
Step 14: Database Maintenance
- Periodically review and update your database. Remove duplicates, correct errors, and ensure data accuracy.
Step 15: Data Security
- If your database contains sensitive information, protect it with Excel’s security features, such as password protection and encryption.
Building a database in Excel can be a valuable solution for small to medium-sized data management needs. While it may not replace dedicated database software for large-scale applications, Excel offers an accessible and versatile platform for organizing and working with your data effectively. Happy database building!
Next:
Excel Tips and Tricks for Beginners: Unleash Your Spreadsheet Superpow (onebyonesoft.com)


 No products in the cart.