
Excel, with its robust features, can be your trusted ally in creating and managing a weekly plan that helps you stay organized and on top of your tasks. In this tutorial blog, we’ll walk through the process of making a detailed weekly plan in Excel, from setting up the spreadsheet to optimizing your workflow.
Part 1: Setting Up Your Weekly Planner
Step 1: Launch Excel and Create a New Workbook
- Open Microsoft Excel.
- Start a new workbook by clicking on “File” > “New” > “Blank Workbook.”
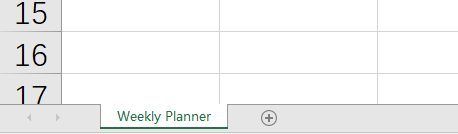
Step 2: Rename Your Worksheet
- By default, you’ll have a sheet labeled “Sheet1.” Double-click on it and rename it to something like “Weekly Planner.”
Step 3: Design Your Weekly Planner Layout
- In cell A1, type “Week Commencing” to indicate the starting date of the week.
- In cell A2, input the date when your planning week begins (e.g., “09/26/2023”).
- In cell B1, label it as “Day.”
- In cell C1, name it “Task/Activity.”
- In cell D1, designate it as “Priority.”

Step 4: Create a Calendar Grid
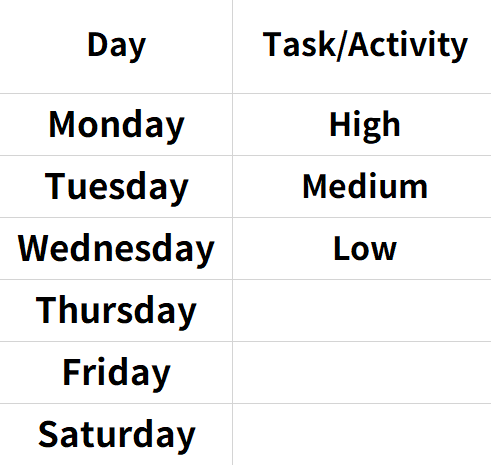
- Starting from cell B2, list the days of the week (e.g., “Monday,” “Tuesday,” and so on) for the entire week.
- Populate the “Task/Activity” and “Priority” columns with placeholders for your planned tasks and their priority levels (e.g., “High,” “Medium,” “Low”).
Part 2: Structuring Your Weekly Plan
Step 5: Customizing Your Weekly Plan
- Adjust column widths and row heights to ensure all information is clearly visible.
- Format the headers (cells A1 to D1) to make them stand out. You can change fonts, use bold formatting, or add background colors.
- Apply borders around cells or use cell shading for better visual organization.
Step 6: Adding Tasks and Activities
- In the “Task/Activity” column (Column C), start adding your tasks or activities for each day of the week. Be as specific as possible.
Step 7: Prioritizing Tasks
- In the “Priority” column (Column D), assign a priority level (High, Medium, Low) to each task or activity. This helps you focus on crucial tasks first.
Part 3: Optimizing Your Weekly Planner
Step 8: Conditional Formatting
- Use conditional formatting to highlight high-priority tasks in a specific color, making them easy to spot.
- You can also set conditional formatting rules to automatically change cell colors based on due dates or task completion.
Step 9: Adding Formulas
- In cell A3, input the formula `=A2+1` to auto-populate the dates for the entire week.
- Utilize Excel functions like SUM, AVERAGE, or COUNT to create summary sections or track your progress.
Step 10: Save Your Weekly Planner
- Click on “File” and choose “Save As” to save your weekly planner with a descriptive name and location of your choice.
Part 4: Maintaining and Using Your Weekly Planner
Step 11: Regular Updates
- Keep your weekly planner up to date by adding, modifying, or removing tasks as necessary.
- Use Excel’s sorting and filtering features to organize tasks by priority or due date.
Step 12: Review and Adjust
- At the end of the week, review your completed tasks and assess your productivity.
- Make any necessary adjustments to improve your planning and time management.
With your weekly plan in Excel, you have a powerful tool to keep you organized and focused on your goals. Whether it’s for work, school, or personal tasks, this detailed plan will help you stay on track and make the most of your week.


 No products in the cart.