
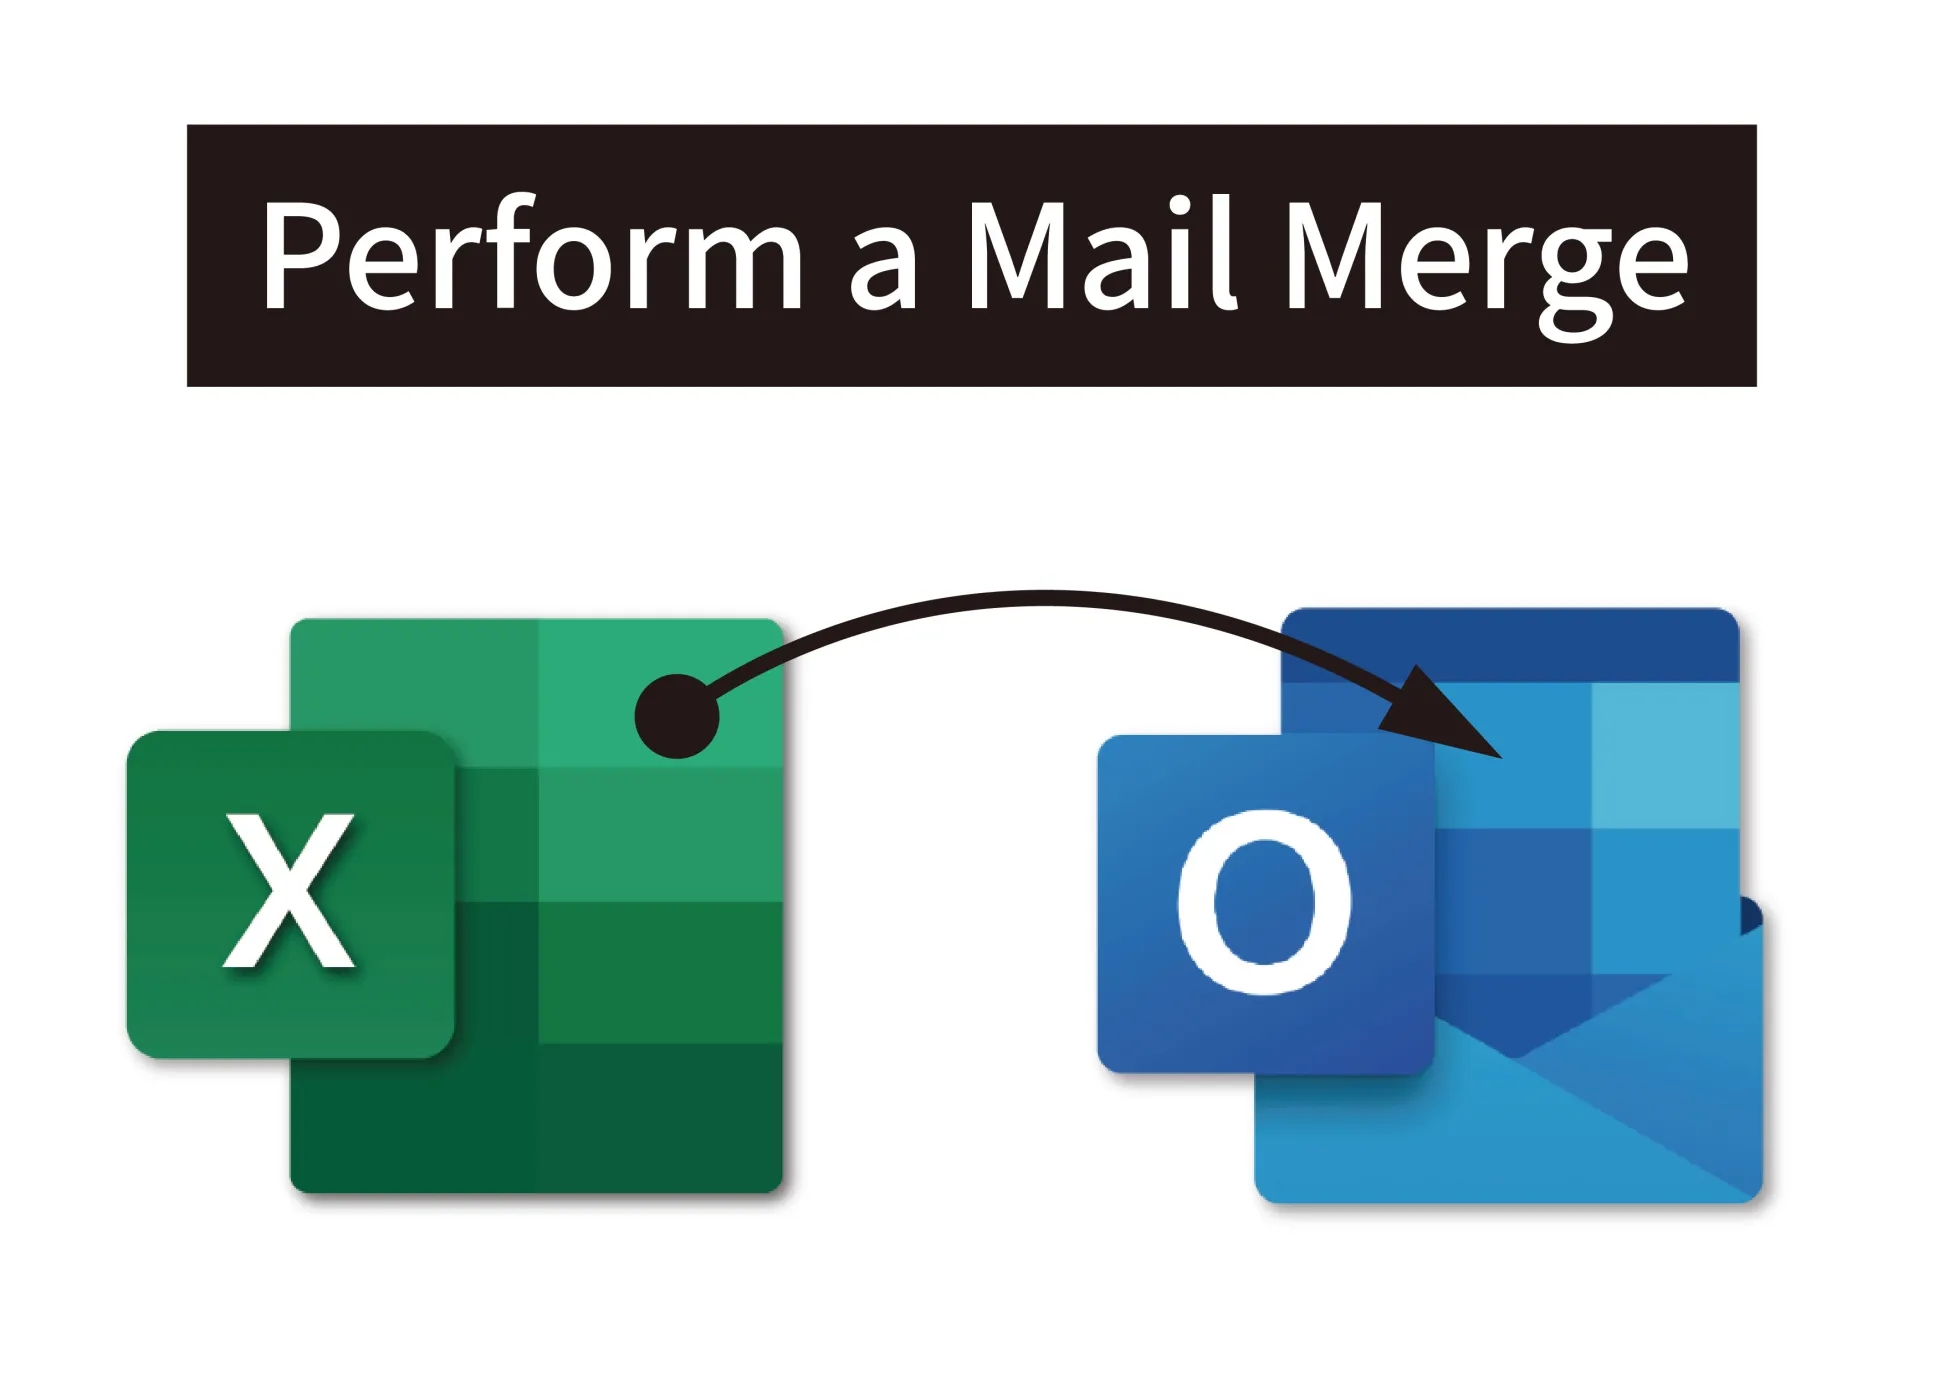
Introduction
Mail merging in Microsoft Outlook is a powerful feature that allows you to send personalized emails to a list of recipients stored in an Excel spreadsheet. Whether you’re sending newsletters, announcements, or personalized messages, this tutorial will guide you through the process step by step.
Step 1: Prepare Your Data in Excel
Before you can perform a mail merge in Outlook, your Excel data needs to be organized correctly:
– Create a header row with clear column labels (e.g., “First Name,” “Last Name,” “Email Address”).
– Enter the recipient data in subsequent rows, ensuring each column contains the corresponding information.

Step 2: Launch Microsoft Word for Email Composition
- Open Microsoft Word.
- Click on “File” and select “Options.”
- In the Word Options dialog box, click on “Add-Ins.”
- In the “Add-Ins” section, select “COM Add-ins” from the drop-down menu and click “Go…”
- Check the box next to “Microsoft Office Mail Merge” and click “OK.”
- Close and reopen Microsoft Word.
Step 3: Connect to Your Excel Data Source
- Click on the “Mailings” tab in the ribbon.
- Select “Start Mail Merge” and choose “Email Messages.”

Step 4: Insert Merge Fields
- Place your cursor in the Word document where you want to insert a merge field.
- Click on “Insert Merge Field” in the “Mailings” tab.
- A list of fields from your Excel spreadsheet will appear. Select the field you want to insert (e.g., “First Name”).
- Repeat this process for each field you want to include in your email (e.g., “Last Name,” “Email Address”).
Step 5: Complete the Mail Merge
- Click on “Select Recipients” in the “Mailings” tab and choose “Use an Existing List.”

- Browse and select your Excel spreadsheet containing the recipient data.
- Verify that Word correctly identified the data source and sheet.
- Click “OK.”
Step 6: Preview and Finish the Mail Merge
- Click “Preview Results” in the “Mailings” tab to ensure that the merge fields populate correctly.
- Review the preview to confirm that the email content appears as expected.

- Click “Finish & Merge” in the “Mailings” tab.
- Choose “Send Email Messages.”
- In the “Merge to Email” dialog box:
– Select the merge field for the “To:” field (usually the email address).
– Click “OK.”
Step 7: Complete the Email Merge in Outlook
- Outlook will open, and a “Mail Merge” dialog box will appear.
- Ensure that “HTML” is selected as the email format.
- Click “OK” to start the email merge process.
Conclusion
Performing a mail merge in Outlook from an Excel spreadsheet can save you time and effort when sending personalized emails to a list of recipients. Follow the steps outlined in this tutorial to create and send customized emails efficiently. With this skill, you can effectively communicate with your contacts while maintaining a personal touch.


 No products in the cart.