Intel drivers serve as essential software components that enable seamless communication between your hardware devices and the Windows 11 operating system. Regular driver updates not only enhance system performance but also address security vulnerabilities and introduce new features.
Understanding the various methods to update these drivers empowers users to maintain their systems effectively. Read on as we give you a step-by-step guide for updating your Intel drivers through various methods.
Precautions Before Updating
Before proceeding with any driver updates, it’s important to take certain precautions:
- Create a System Restore Point: This allows you to revert your system to a previous state in case the new driver causes unforeseen issues.
- Ensure a Stable Internet Connection: A reliable internet connection is necessary to download driver updates without interruption.
- Close Unnecessary Applications: This helps prevent potential conflicts during the installation process.
Methods to Update Intel Drivers
There are several methods to update your Intel drivers in Windows 11:
Method 1: Using Windows Update
Windows Update often provides the latest drivers for your system. These are the steps to follow.
1. Access Windows Update:
- Click on the Start menu and select Settings (or press Win + I).
- Navigate to Windows Update.

2. Check for Updates:
- Click on Check for updates.
- Windows will search for available updates, including driver updates.
3. Install Updates:
- If updates are found, click on Download and Install.
- Follow the on-screen instructions to complete the installation.
4. Restart Your Computer:
- After installation, restart your system to apply the updates.
Method 2: Using Device Manager
Device Manager allows you to manage hardware devices and their drivers. These are steps for updating your Intel drivers with a device manager.
1. Open Device Manager:
- Press Win + X and select Device Manager.
2. Locate the Intel Device:
- Expand the relevant category (e.g., Display adapters for graphics drivers).
- Right-click on the Intel device and select Update driver.
3. Search for Updated Drivers:
- Choose Search automatically for drivers.
- Windows will search for and install the latest driver.
4. Restart Your Computer:
- After installation, restart your system to apply the updates.
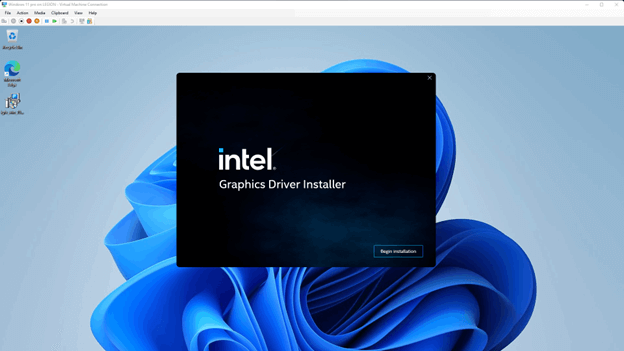
Method 3: Using Intel® Driver & Support Assistant
Intel provides a tool to automatically detect and update drivers. Here’s a step-by-step process:
1. Download the Tool:
- Visit the official Intel website and download the Intel® Driver & Support Assistant.
2. Install the Tool:
- Run the downloaded installer and follow the on-screen instructions.
3. Run the Tool:
- Open the Intel® Driver & Support Assistant.
- It will scan your system for outdated drivers.
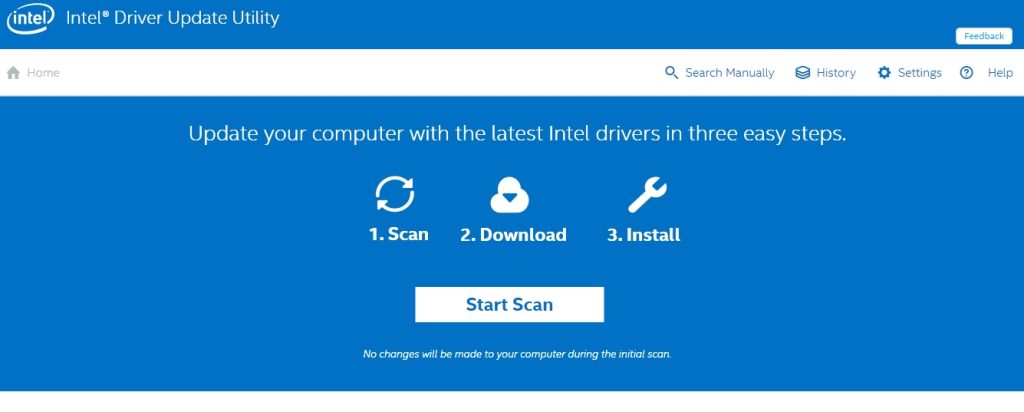
4. Download and Install Updates:
- If updates are found, follow the prompts to download and install them.
5. Restart Your Computer:
- After installation, restart your system to apply the updates.
Method 4: Manual Download and Installation
If you prefer, you can manually download and install drivers. Follow these steps:
1. Identify Your Intel Product:
- Determine the specific model of your Intel hardware.
2. Visit the Intel Download Center:
- Go to the Intel Download Center.
3. Search for Drivers:
- Enter your product name in the search bar.
- Select the appropriate driver from the search results.
4. Download the Driver:
- Click on the driver link and select Download.
5. Install the Driver:
- Run the downloaded installer and follow the on-screen instructions.
6. Restart Your Computer:
- After installation, restart your system to apply the updates.
Post-Update Steps
After successfully updating your Intel drivers, these verification steps ensure proper installation.
Verify Installation:
- Open Device Manager.
- Right-click on the updated device and select Properties.
- Check the Driver tab to confirm the driver version and date.
Monitor System Performance:
- Observe your system to ensure that the new driver functions correctly.
- If issues arise, consider rolling back to the previous driver.
Troubleshooting Common Issues
Driver installation issues may occasionally arise, but most can be resolved through systematic troubleshooting.
If you encounter problems during or after the update, these could be the causes:
- Driver Installation Errors: Ensure compatibility between the driver and your hardware. Run the installer as an administrator.
- System Instability: Boot into Safe Mode and uninstall the problematic driver. Use the System Restore feature to revert to a stable state.
- Contact Support: If issues persist, visit the Intel Support Page for further assistance.
Conclusion
Regular Intel driver updates play a vital role in maintaining your Windows 11 system’s performance, security, and stability. While Windows Update provides convenient automated updates, alternative methods offer more control over the update process.
By following the appropriate update method for your needs and implementing proper precautions, you can ensure your system maintains optimal performance through current drivers.
Remember to perform regular driver checks and updates as part of your system maintenance routine to prevent potential issues and enjoy the latest features and improvements for your Intel hardware.