
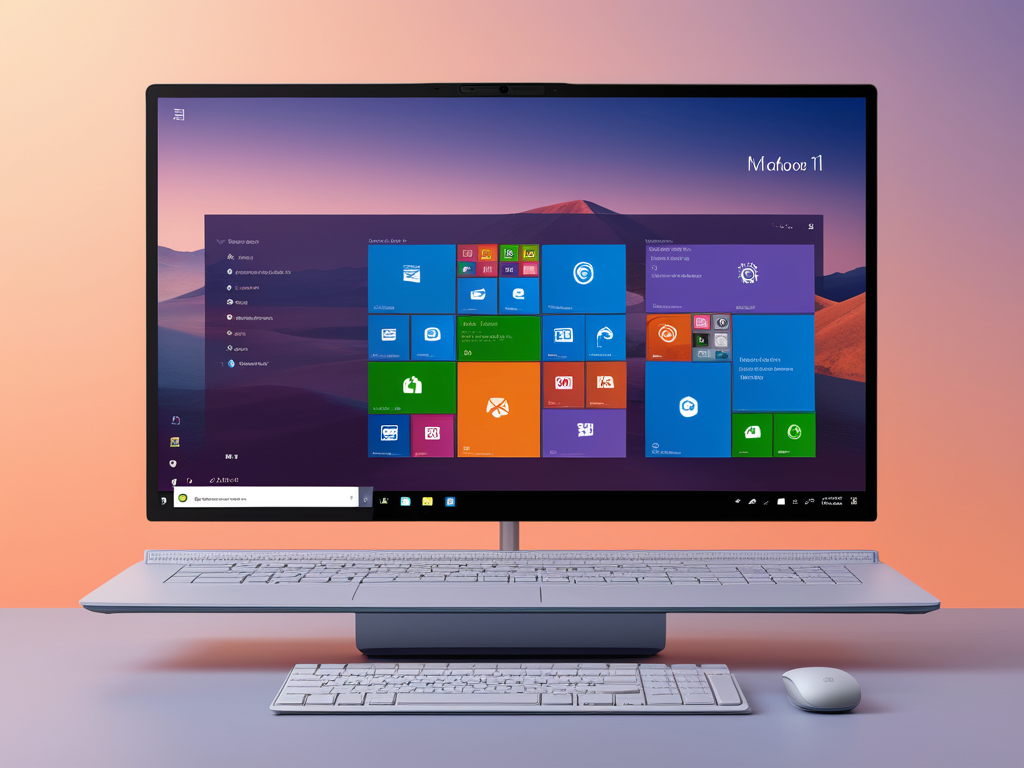
Upgrading to Windows 11 can bring a host of new features and improvements to your computer. With its sleek design, enhanced performance, and new functionalities, Windows 11 is designed to boost your productivity and streamline your experience. This guide will walk you through the installation process step-by-step, ensuring a smooth transition to Microsoft’s latest operating system.
System Requirements for Windows 11
Before you begin the installation process, it’s essential to ensure your device meets the minimum system requirements for Windows 11:
- Processor: 1 GHz or faster with at least 2 cores on a compatible 64-bit processor.
- RAM: 4 GB or more.
- Storage: 64 GB or larger storage device.
- Firmware: UEFI, Secure Boot capable.
- TPM: Trusted Platform Module (TPM) version 2.0.
- Graphics card: DirectX 12 compatible graphics / WDDM 2.x.
- Display: >9” with HD Resolution (720p).
You can check your device’s compatibility using the PC Health Check app.
Step 1: Back Up Your Data
Before proceeding with the installation, it’s crucial to back up your important files and data. Use an external hard drive, cloud storage, or a backup tool to ensure your information is safe in case anything goes wrong during the installation.
Step 2: Obtain Windows 11 Installation Media
You can install Windows 11 in two primary ways: through Windows Update or using installation media.
Using Windows Update
- Check for Updates: Go to Settings > Update & Security > Windows Update and check for updates. If Windows 11 is available for your device, you’ll see an option to download and install it.
Using Installation Media
- Download the Media Creation Tool: Visit the Microsoft Windows 11 download page and download the Media Creation Tool.
- Create Installation Media: Run the tool and select Create installation media for another PC. Follow the prompts to create a bootable USB drive or download an ISO file.
Step 3: Installing Windows 11
Using Windows Update
- Download and Install: If using Windows Update, follow the prompts to download and install Windows 11. Your PC will restart several times during this process.
Using Installation Media
- Insert USB Drive: If you created a bootable USB, insert it into your computer and restart your device.
- Boot from USB: You may need to change your boot order in BIOS/UEFI settings to boot from the USB drive.
- Install Windows: Once the Windows Setup screen appears, select your language, time, and keyboard preferences, and click Next.
- Click Install Now: Choose Upgrade to keep your files and apps, or Custom for a clean installation.
- Select Partition: If you choose Custom, select the partition where you want to install Windows 11. You can format or delete partitions if necessary (be cautious, as this can erase data).
Step 4: Configure Windows 11 Settings
Once the installation is complete, your PC will restart, and you’ll be guided through the initial setup:
- Select Region and Keyboard Layout: Choose your location and preferred keyboard layout.
- Connect to the Internet: Connect to your Wi-Fi or Ethernet network to proceed.
- Sign in with Microsoft Account: You can create a new account or use an existing one. This step is essential for accessing Microsoft services.
- Customize Settings: You’ll be prompted to adjust privacy settings and choose whether to enable Cortana and other features.
Step 5: Install Drivers and Updates
After installation, it’s essential to check for updates:
- Go to Settings > Update & Security > Windows Update and check for updates. Install any available updates, including drivers.
Step 6: Install Essential Software
Now that Windows 11 is installed, consider installing essential software to enhance your productivity:
- Microsoft Office 2021: Get Microsoft Office 2021 for all your productivity needs.
- Microsoft Edge: The latest version of Edge offers improved security and performance.
- Antivirus Software: Ensure your system is protected by installing a reliable antivirus solution.
Conclusion
Installing Windows 11 can seem daunting, but by following these steps, you can make the process seamless and straightforward. With its modern interface and powerful features, Windows 11 is designed to enhance your computing experience.
For those interested in upgrading their operating system, consider exploring Windows 10 Pro or other Microsoft products to maximize your productivity.
Onebyonesoft Introduction
Onebyonesoft is a certified Microsoft partner specializing in operating systems and office software solutions. As an online retailer specializing in computer software in the United States, Onebyonesoft offers a wide range of Microsoft products tailored to meet your needs. For more information, visit our official page.


 No products in the cart.